
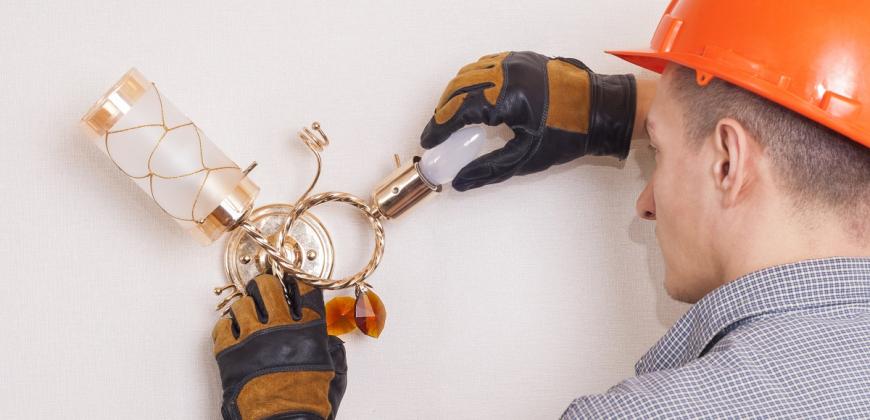
Fitting sconces: steps and tips for a correct installation

Fitting sconces (wall lighting fixtures) may seem like a complicated task at first, but with a little preparation and attention to detail, it can be done correctly and safely. You want to install the new ones yourself apply for living room, bedroom, kitchen or terrace? Here are the main steps and some helpful tips for a successful installation:
Steps to follow for mounting sconces
Installing sconces is a relatively simple process, but requires attention to safety and proper tools. Here are the general steps to follow for mounting wall sconces:
Shutting down the power supply
Be sure to turn off the power at the main switch (fuses) to avoid the risk of electric shock. Check with a voltage tester that there is no more current in the electrical cables at the place where you will mount the application.
Preparation of tools for mounting sconces
You will need a screwdriver, wire cutters, hammer, drill (if you need to make holes in the wall), dowels and screws, level, voltage tester. To these are added the necessary materials: appliques, screws, dowels, insulating tape.
Marking the place for mounting
Hold the applique in the desired location on the wall and, using a pencil, mark the places where the screw holes will be. Use a level to make sure the applique will be installed straight.
Drilling the wall (if necessary)
Use a drill to make holes in the wall at the marked points. Insert the appropriate dowels into the holes to support the screws (if the wall is concrete, brick or drywall).
Connecting the electrical wires
The electrical wires in the wall must be connected to the appliqué. There are usually three wires: live and neutral (brown/black is live and blue is neutral), plus ground (yellow-green).
Unscrew the protective cover of the sconce, then connect each wire to the corresponding terminals of the sconce, fixing them tightly. If the appliance is not grounded, insulate the grounding wire with insulating tape.
Fixing the sconce on the wall
Fasten the base of the sconce to the wall with the help of screws and dowels (if you have previously drilled holes in the wall). Make sure the applique is securely fastened and has no play.
Fitting the lampshade (if any) and the light bulb
After attaching the sconce to the wall, mount the lampshade or other decorative elements according to the manufacturer's instructions. Screw the recommended bulb into the wall socket.
Turning on the electricity
After you have installed and connected the app, turn on the electricity from the fuse panel. Check if the app is working properly.
Final testing and verification
Test the app and make sure it works properly. Check that all elements are securely fastened and that there are no vibrations or other problems.
Read the manual of the appliance or a product assembly guide electronics before starting the assembly, to follow the specific instructions correctly. If you are not comfortable with electrical work, consult a professional electrician to avoid risks.
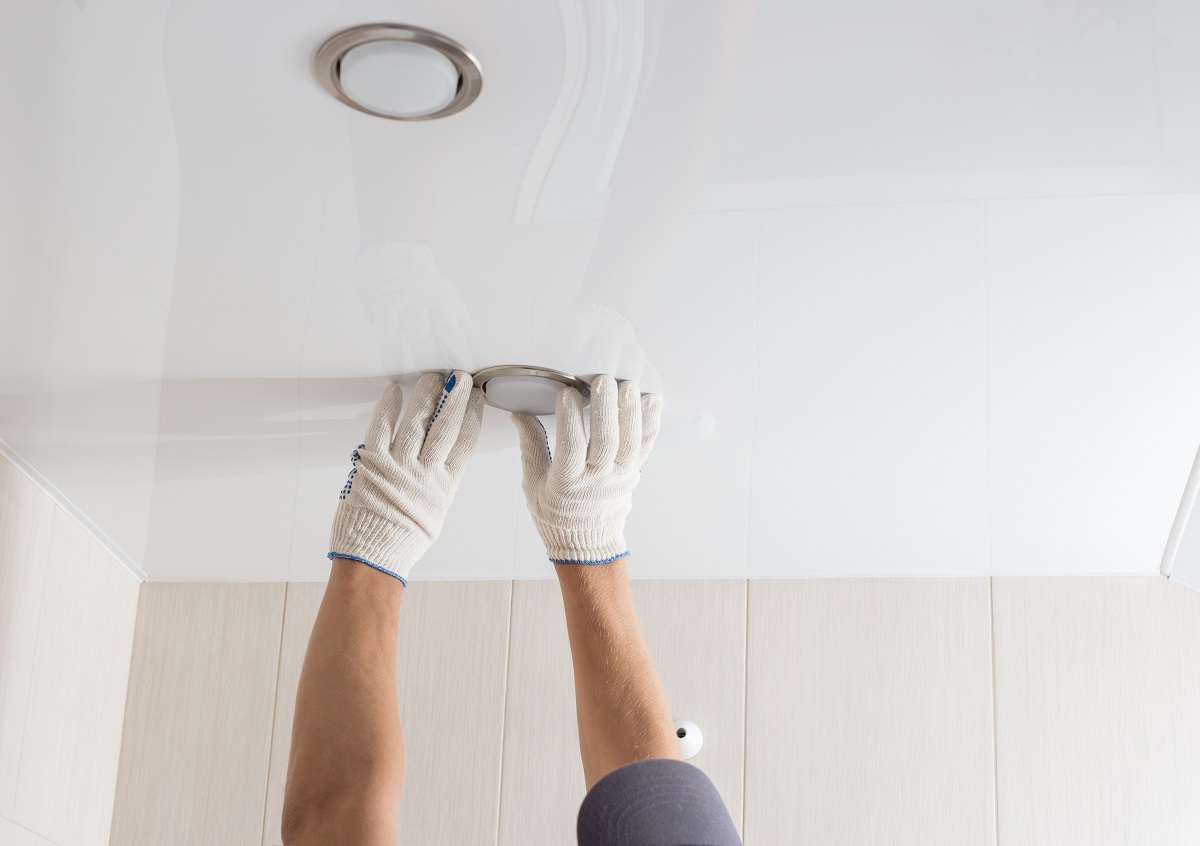
Useful tips for the correct installation of sconces
Correct installation of sconces requires attention to detail to ensure lighting safety and efficiency. Here are some helpful tips for a successful installation:
Plan the correct placement of the sconce
As a rule, sconces are mounted at a height of about 1.5 - 2 meters above the floor, but this can vary depending on the purpose and size of the room. If you mount several sconces on the same wall, keep a distance of at least 2 - 3 meters between them to avoid crowding the light.
Turn off the electricity before mounting the sconces
It is important to disconnect the electrical current from the fuse panel before starting work. Check with a voltage tester to make sure there is no power in the work area.
Choose a suitable wall for mounting the sconces
Make sure that the wall on which you want to mount sconces or LED spotlights it is solid and can support their weight. For plasterboard walls, use special dowels to ensure stability. Check for electrical wiring or pipes in the wall to avoid damaging them during installation.
Correct wiring of sconces
Carefully follow the installation diagram provided by the sconce manufacturer. Sconces usually have three wires: live (marked brown or black), neutral (blue) and ground (yellow-green). Connect these wires correctly to the electrical circuit of the house, respecting the polarity. Uses quality connection terminals to ensure electrical contacts.
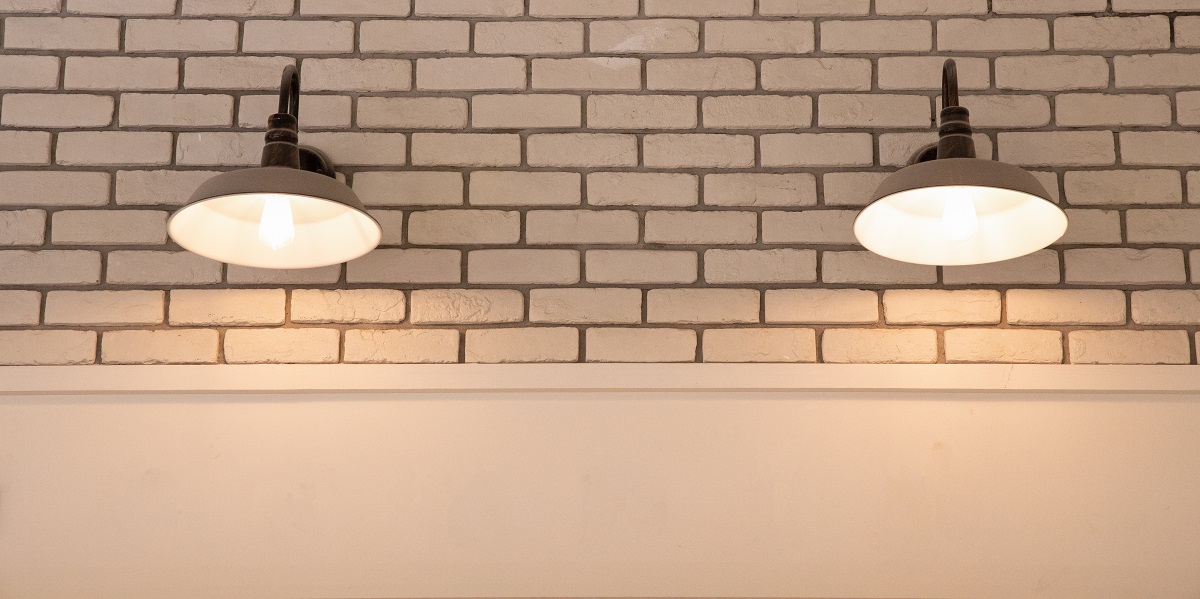
Fixing the sconces
Use the screws and dowels provided or, if necessary, use screws and dowels appropriate for the type of wall (concrete, drywall, brick).
Fix the base of the sconce to the wall and make sure it is tight. If the appliqué is heavy, it's good to have a helper to hold it while you make the connections.
Use the right bulbs
Choose bulbs compatible with the application and with the maximum power indicated by the manufacturer. Some fixtures may require LED, halogen, or incandescent bulbs, and using the wrong bulb may affect the functionality or safety of the fixture.
Try to choose bulbs with a color temperature suitable for the purpose of the room (warm for the bedroom, cool for work areas).
Tests the correct installation of the appliqués
After you've finished wiring and fixing, double-check the connections to make sure everything is connected correctly. Turning on the power and checking the app's operation is the last step before putting the new ones into operation lighting fixtures. Make sure the sconces are working properly and that the light is evenly distributed.
Adapt the design to the decor
Choose sconces that match the style of your room. Their strategic placement can add both aesthetics and functionality, providing pleasant lighting.
Maintenance of sconces
After installation, regularly clean the sconces to prevent the accumulation of dust and dirt, which can affect the quality of the light.
Follow these steps and tips to ensure your sconces are installed correctly, providing both aesthetics and safety in your home. Good job!
About the author